After install the ESPduino IDE, we should verify the Arduino IDE, which can be done by the Blink example. Note that, Please choose the Blink example from the ESP8266, shown in the following.
1)File Examples ESP8266 Blink
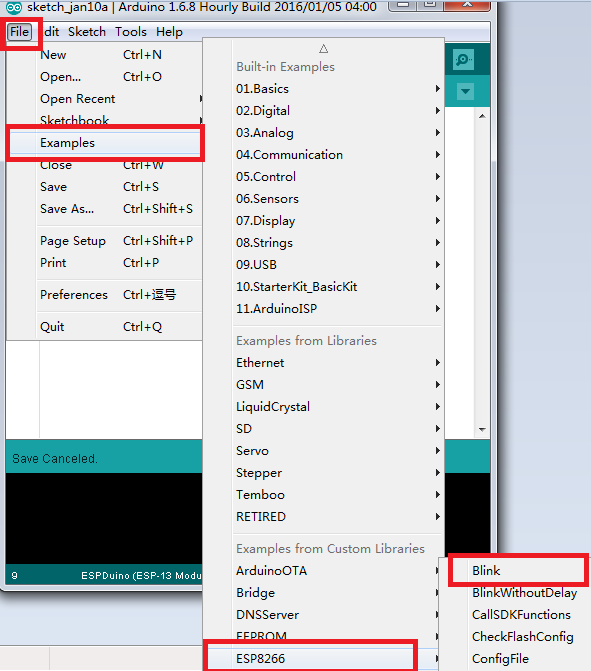
Figure Examples for ESP8266
2)Verify
Verify the Blink example, it can be passed successfully.
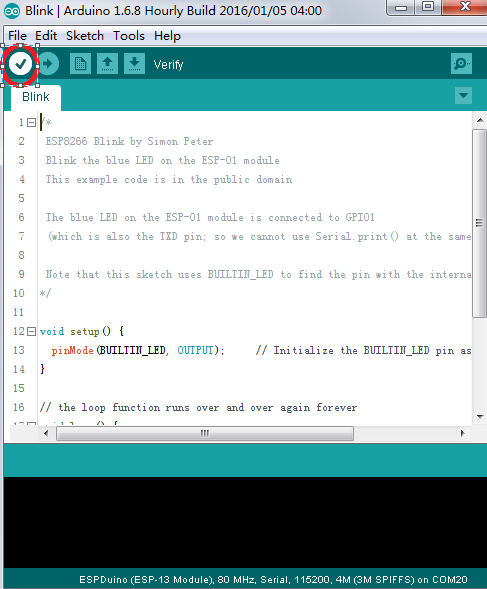
Figure Blink for ESP8266
3)Upload User Programmer
This step is very import. Before upload it, in the ESPduino development board, there are two buttons: FLASH and RST (means reset), shown in the following Figure.
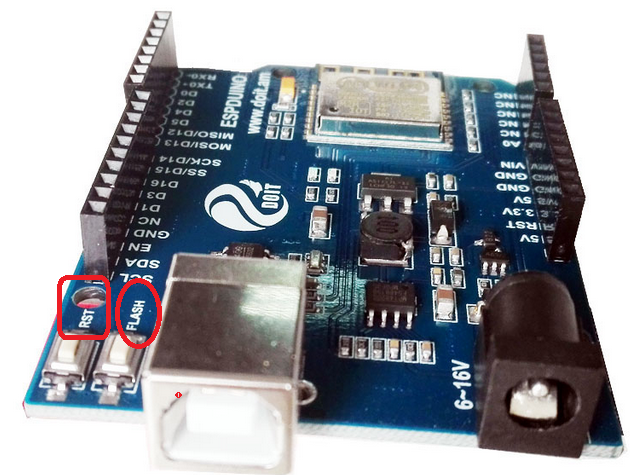
Figure Buttons on ESPduino
When upload the code to ESPduino development board, please confirm ESPduino is Uploading state by the following 2 metods.
- After power, please first press the FLASH button (please don’t loose your hand), then press the RST button. After about 6s, ESPduino board would be Uploading state. At this time, one can upload the code to the ESPduino development board; (Recommended)
If the ESPduino board don’t power by connect the computer with usb cable, then one can firstly press the FLASH button, then power the ESPduino board by connect PC. Then the ESPduino board can also enter into the Uploading state. Then one can upload the code to the ESPduino board. In fact, the principle is the same for the Built-in mode of ESPduino. This is because ESP8266 can enter into the built-in mode when states at low power, as shown in the following Figure.
