Subsection 3.2: GPIO Test
After LuaLoader connects NodeMCU, can use the shortcuts to get the NodeMCU opration for the LuaLoader.
From NodeMCU API, we know that the GPIO16 is mapped to the 0th IO port in the ESP8266. That is, the operation for the oth IO port in Lua is the same as the operation of GPIO16 in ESP8266. When use "GPIO" in LuaLoader, can complete the GPIO test.
For example, if set the 0th IO port as output, only choose "0 GPIO16", "Output", then click "Set". Click "0" or "1" can set the port as low voltage level or high voltage level. The output code is "gpio.write(0,gpio.LOW)" or "gpio.write(0,gpio.HIGH)" .
Tips: since the 0th port is connected the LED on board, if the 0th port is set as output mode and low voltage level, LED is lightened, or put out.
gpio.mode(0,gpio.OUTPUT)
> gpio.write(0,gpio.LOW)
> gpio.write(0,gpio.HIGH)
>
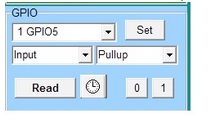
To test the input function of the 1st port, a dupont cable is used to connect the 1st port and GND. Then, choose "1 GPIO5", "Input", "Pullup", and click "Set" to complete the input-settings of this port. Click "Read" would run a read operation, and return "0". In addition, if the dupont cable is connected the 1st port and 3v3 port, "1" would be returned by using "Read". The timer can read the information periodically.
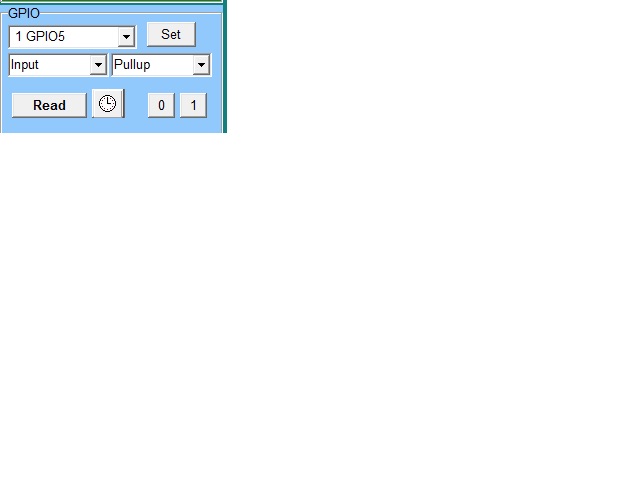
gpio.mode(1,gpio.INPUT,gpio.PULLUP)
> = gpio.read(1)
1
> = gpio.read(1)
0
>
Tips:if let the mouse on the LuaLoader button, would display the funtion description. In addition, if there are too many characters in the main display, and affect the read effect, you can use "Clear" to clear the screen.